I love making ATBs, it is probably my favourite crafty thing to do at the moment and so when the Frilly and funkie blog challenge was "Hip to be Square" and involved making an ATB I was really happy.
I wanted to do something that I hadn't tried before, and so I knew that I wouldn't be making "just" an ATB. It took me ages to work out what I was going to do because I wanted to make something that I would actually use. I got into paper-crafting because I wanted to document my family history and so bringing those two things together, I came up with the idea of making mini scrapbook albums and using the ATB to store them in! What I hadn't thought about was how many pages that would involve making, staining, stencilling, stamping and embellishing! All in all, including the front covers there were 80 pages!

I decided to make albums of each of my grandchildren, as they are also my favourite things! The ATB holds 5 albums and, although I have 7 grandchildren, two of them I only see a couple of times a year as they live so far away and I don't really have enough photos for an album each, so I decided to make albums for the 5 grandchildren I have lots of photos of and I will make another project for the other two.
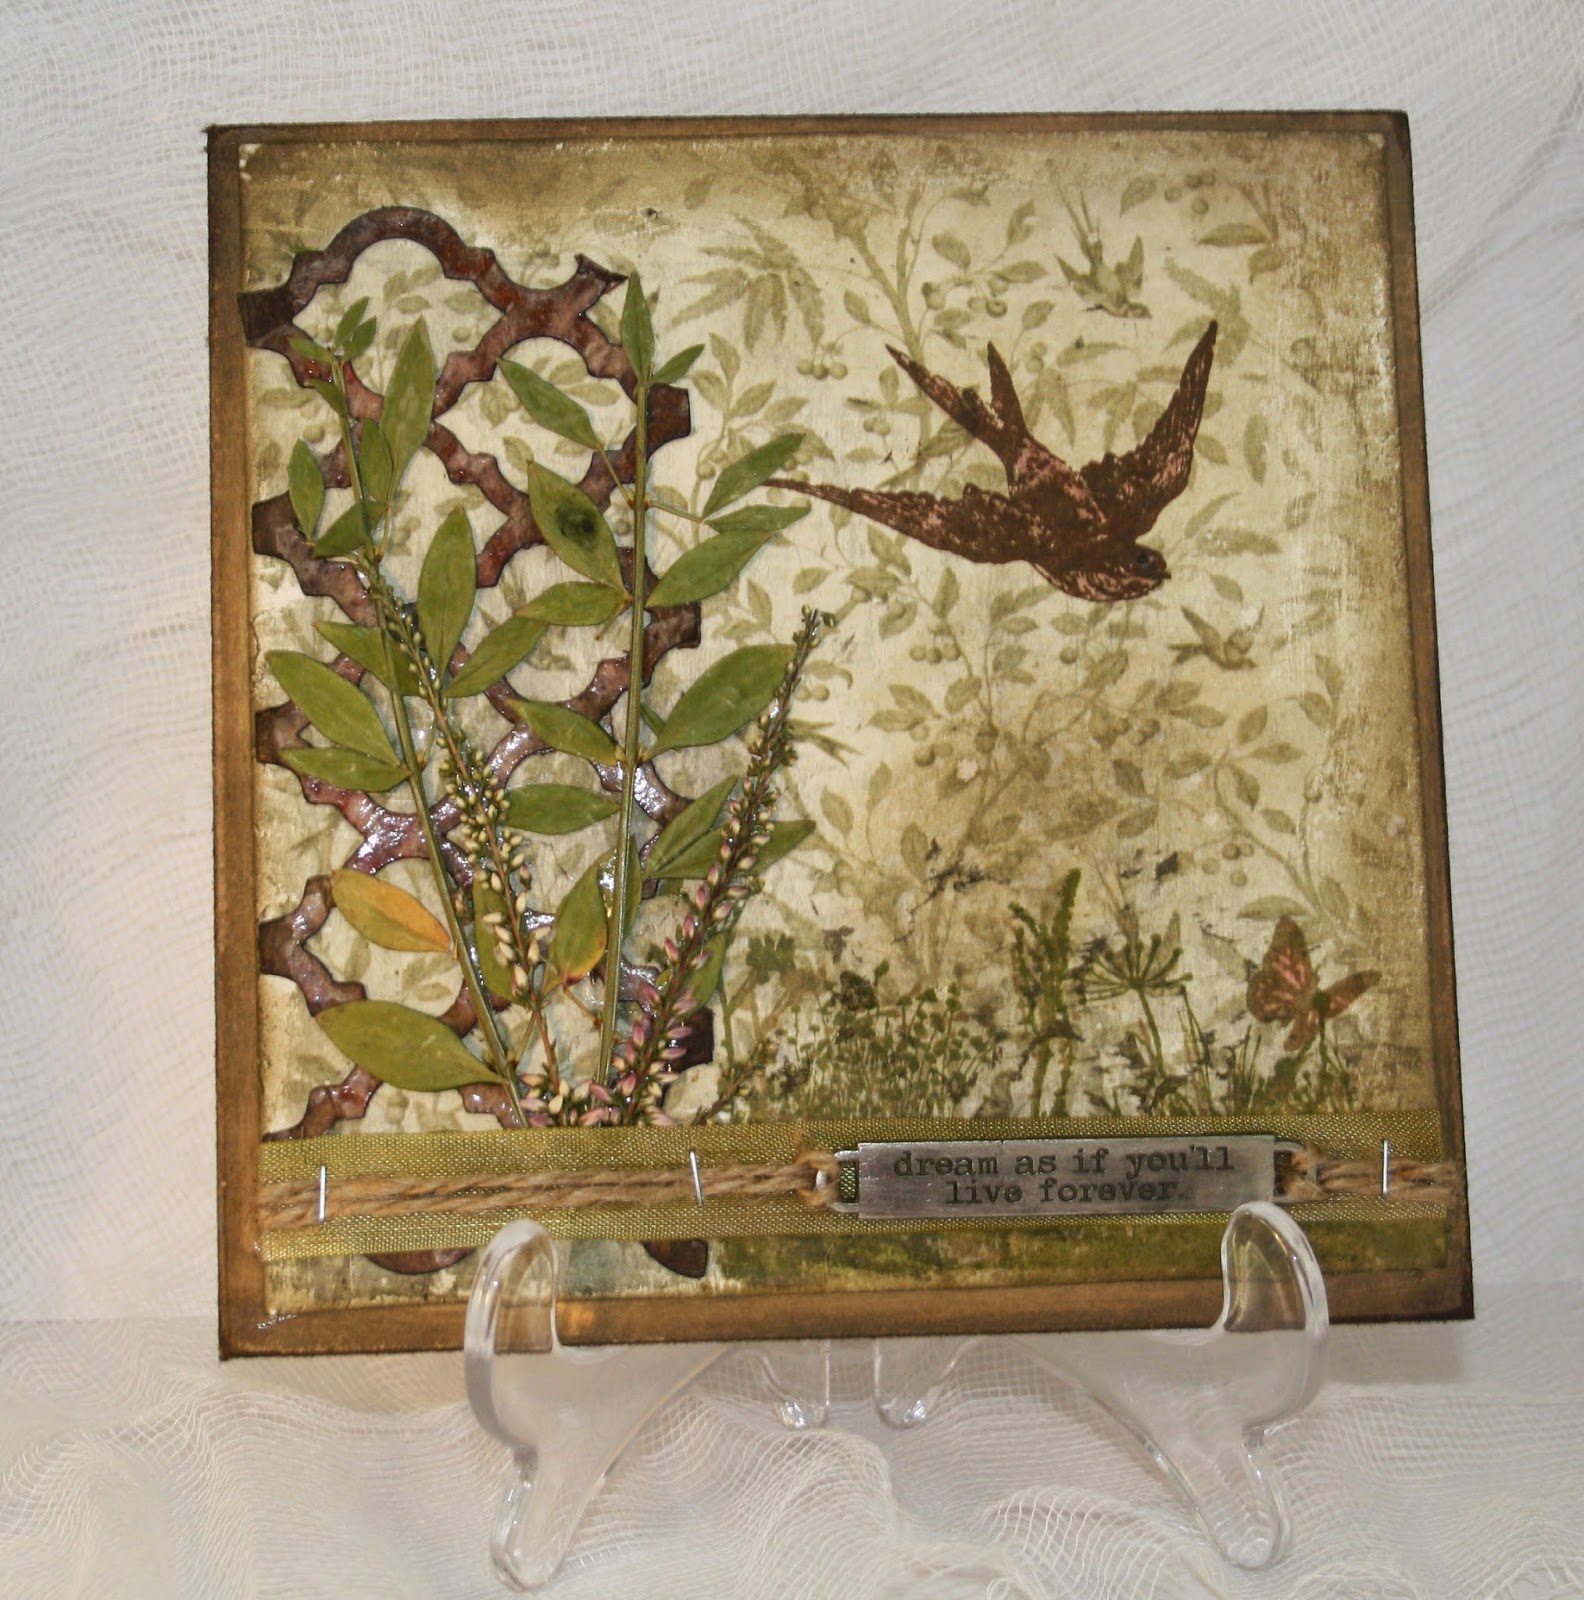
The ATB was made from thin cardboard and the inside was covered with paper from Prima's Seashore range. I covered the edges in washi tape and then added Gold Rub n Buff. For the sides, I cut 6 pieces of manilla card, which I covered with pages from an old edition of "A Tale of 2 Cities" (just mentioned that as it is one of my favourite books ever). I covered these with a thin layer of gesso. Once the gesso was dry I used very thin coats of Antique Linen and Broken China Distress paint to cover the sides. After this, I used various colours of archival inks to stamp the background. I decided that as my albums were documenting the details of my grandchildren's lives then it would be appropriate to use die cuts and stamps which were connected to writing etc. - I really love the way the pile of books and quill pen came out, it is the first time I have used it, but it certainly won't be the last.


Each album was made in the same way. I used my Silhouette Cameo to cut out 5 front covers and 40 double pages for the inside of the albums. I also cut out each of my grandchildren's names.
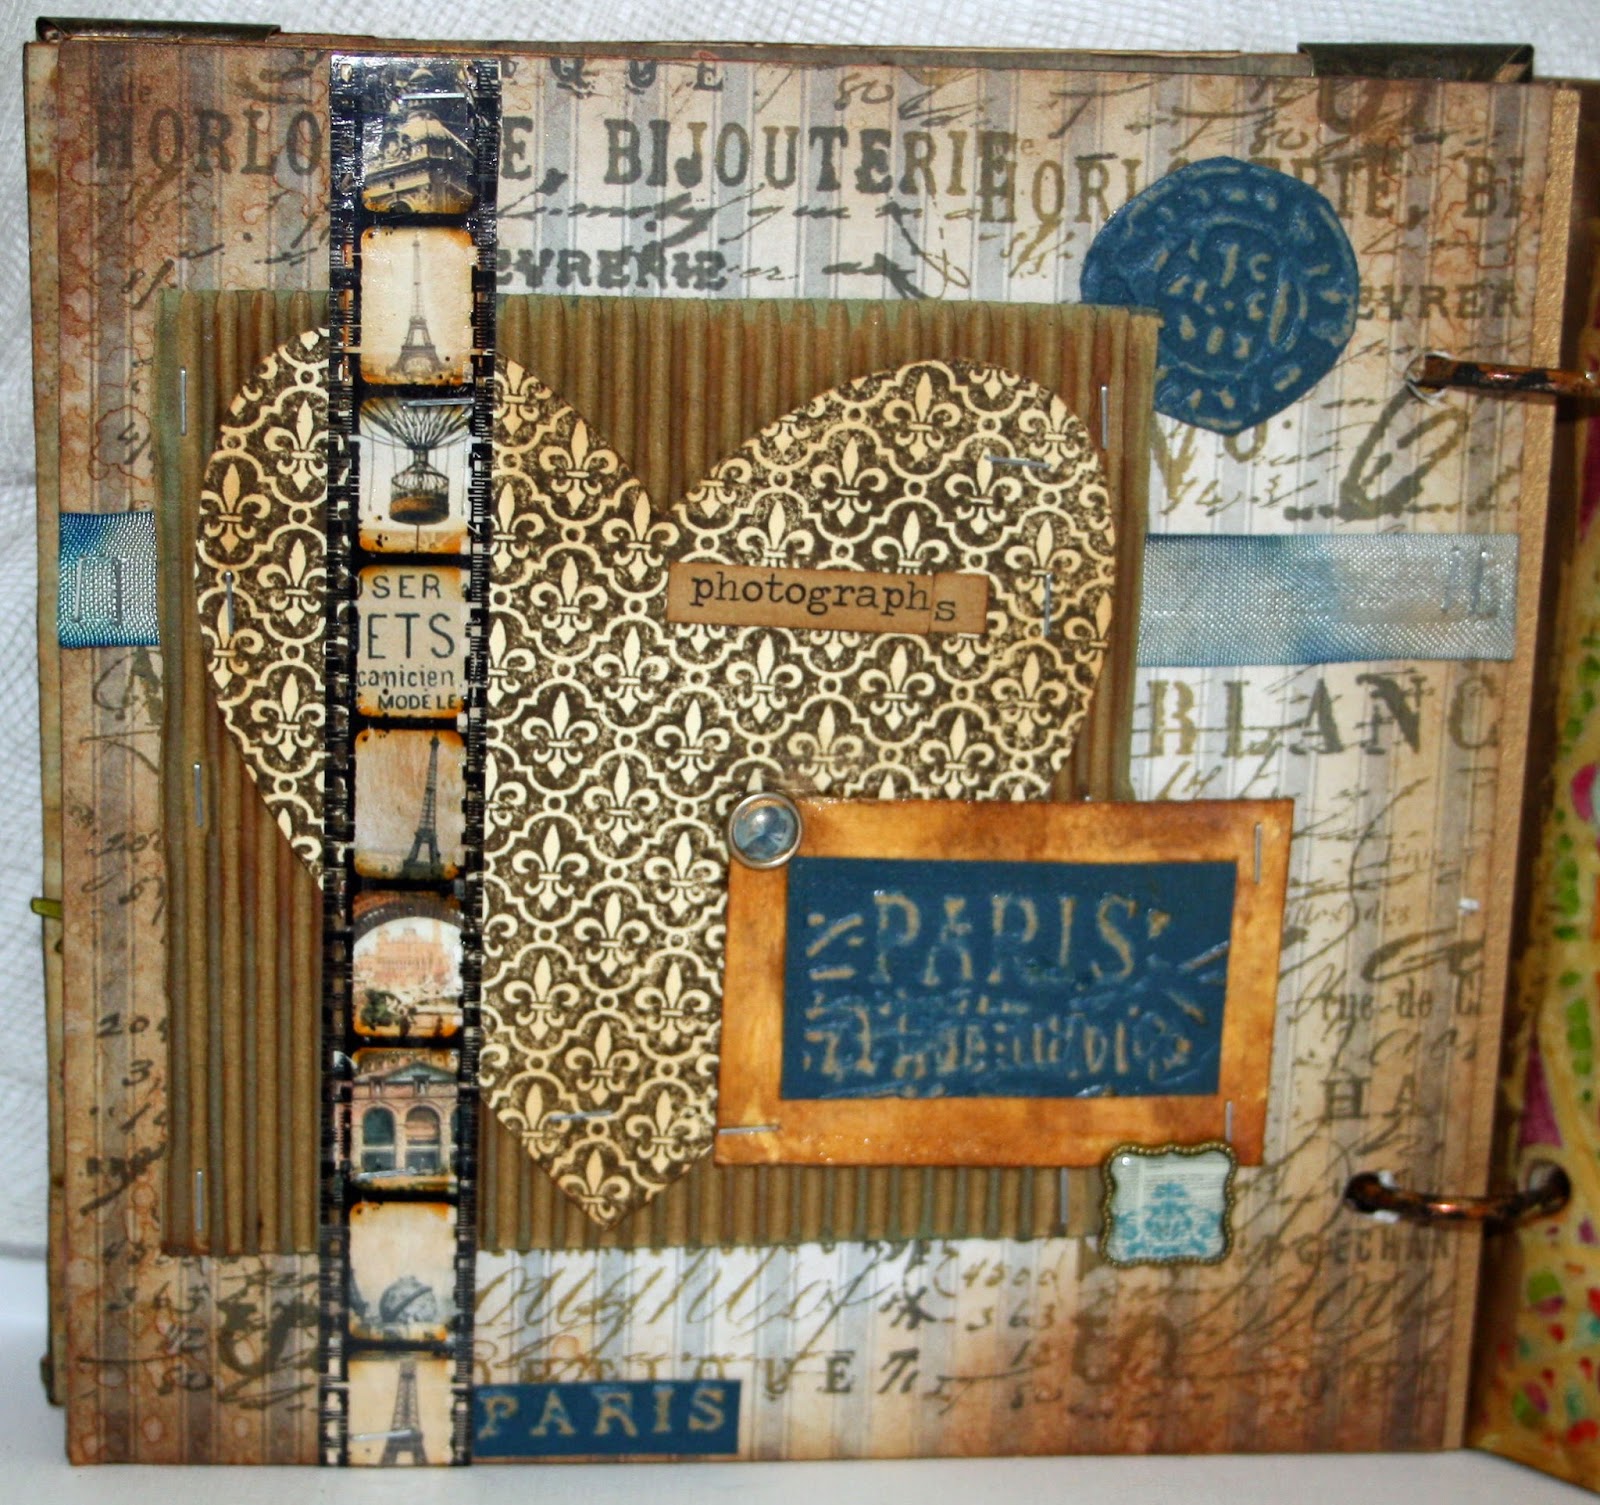
For the front covers I used Distress Inks in Scattered Straw and Tumbled Glass and then I stamped images connected to each individual child. For example, Caleb has been on a couple of Mediterranean cruises and loves talking about his "big boat", so I decided that would be the focus of his album. I coloured in the names with Gathered Twigs Distress stain and added them to the front of each album.
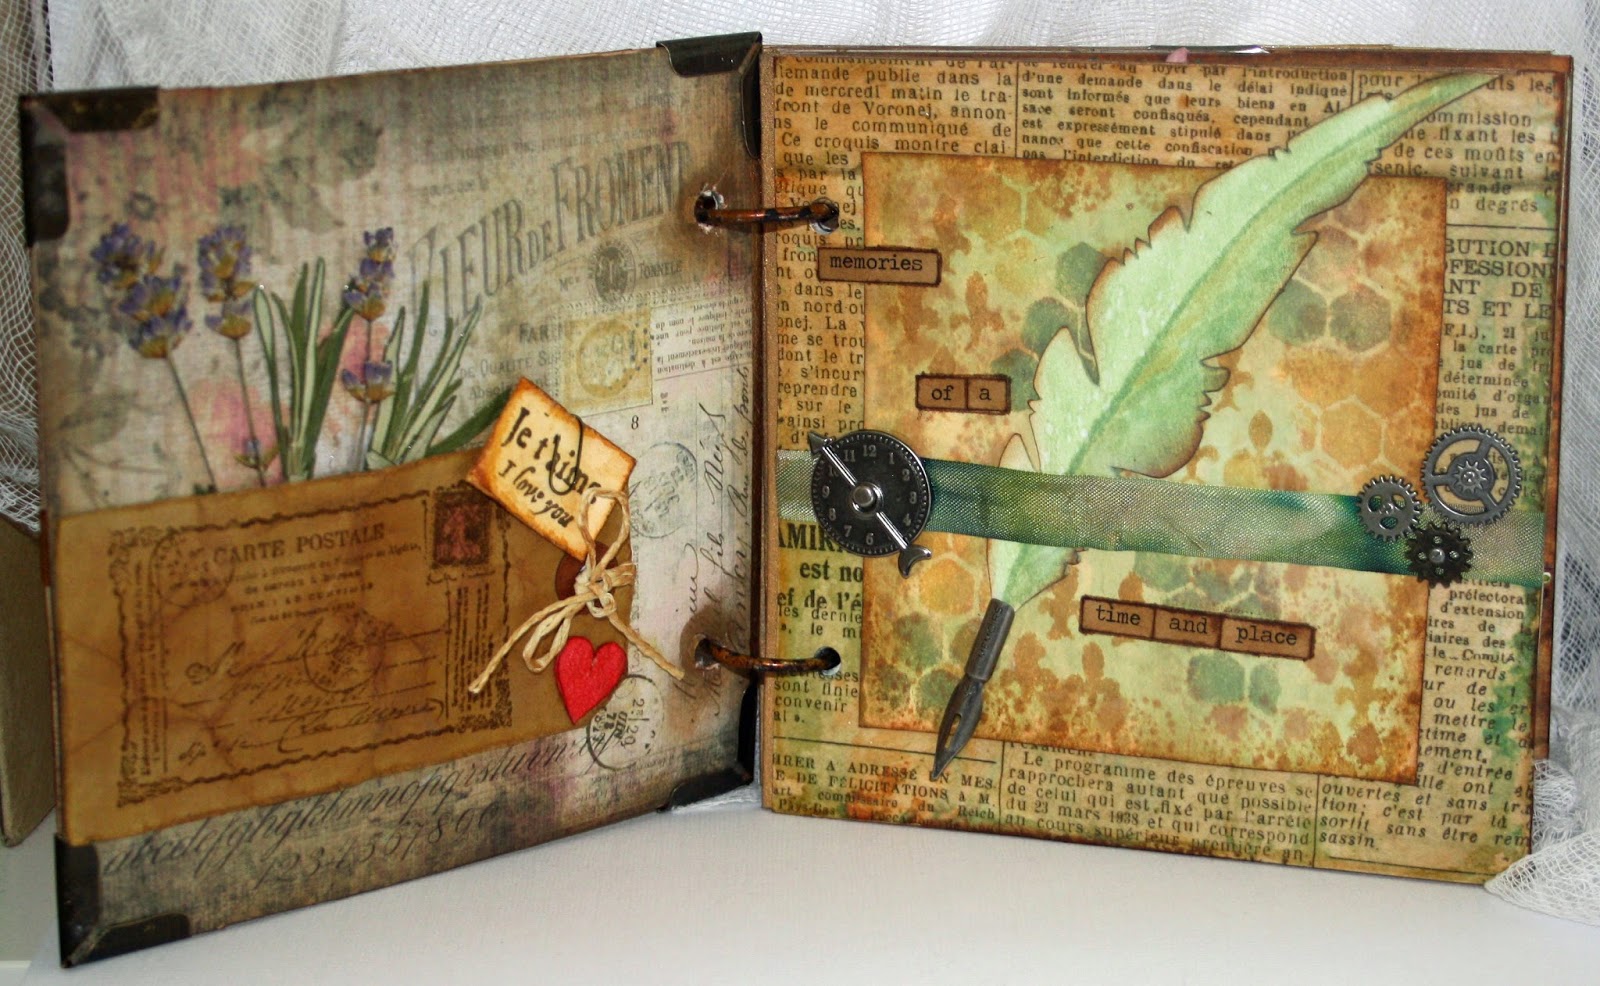
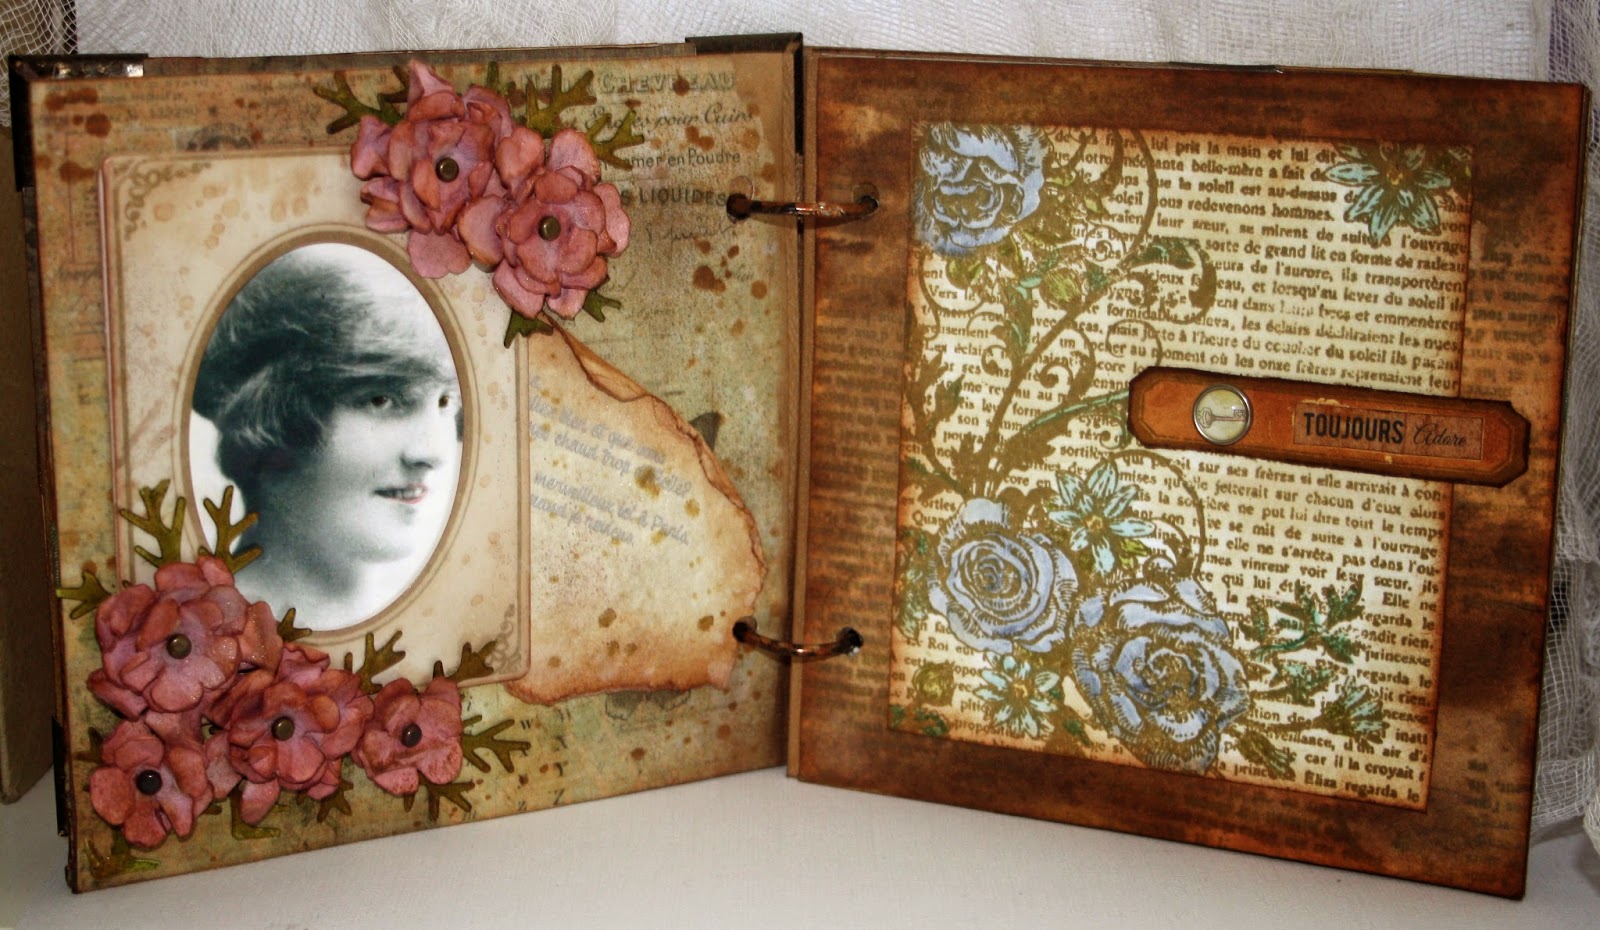
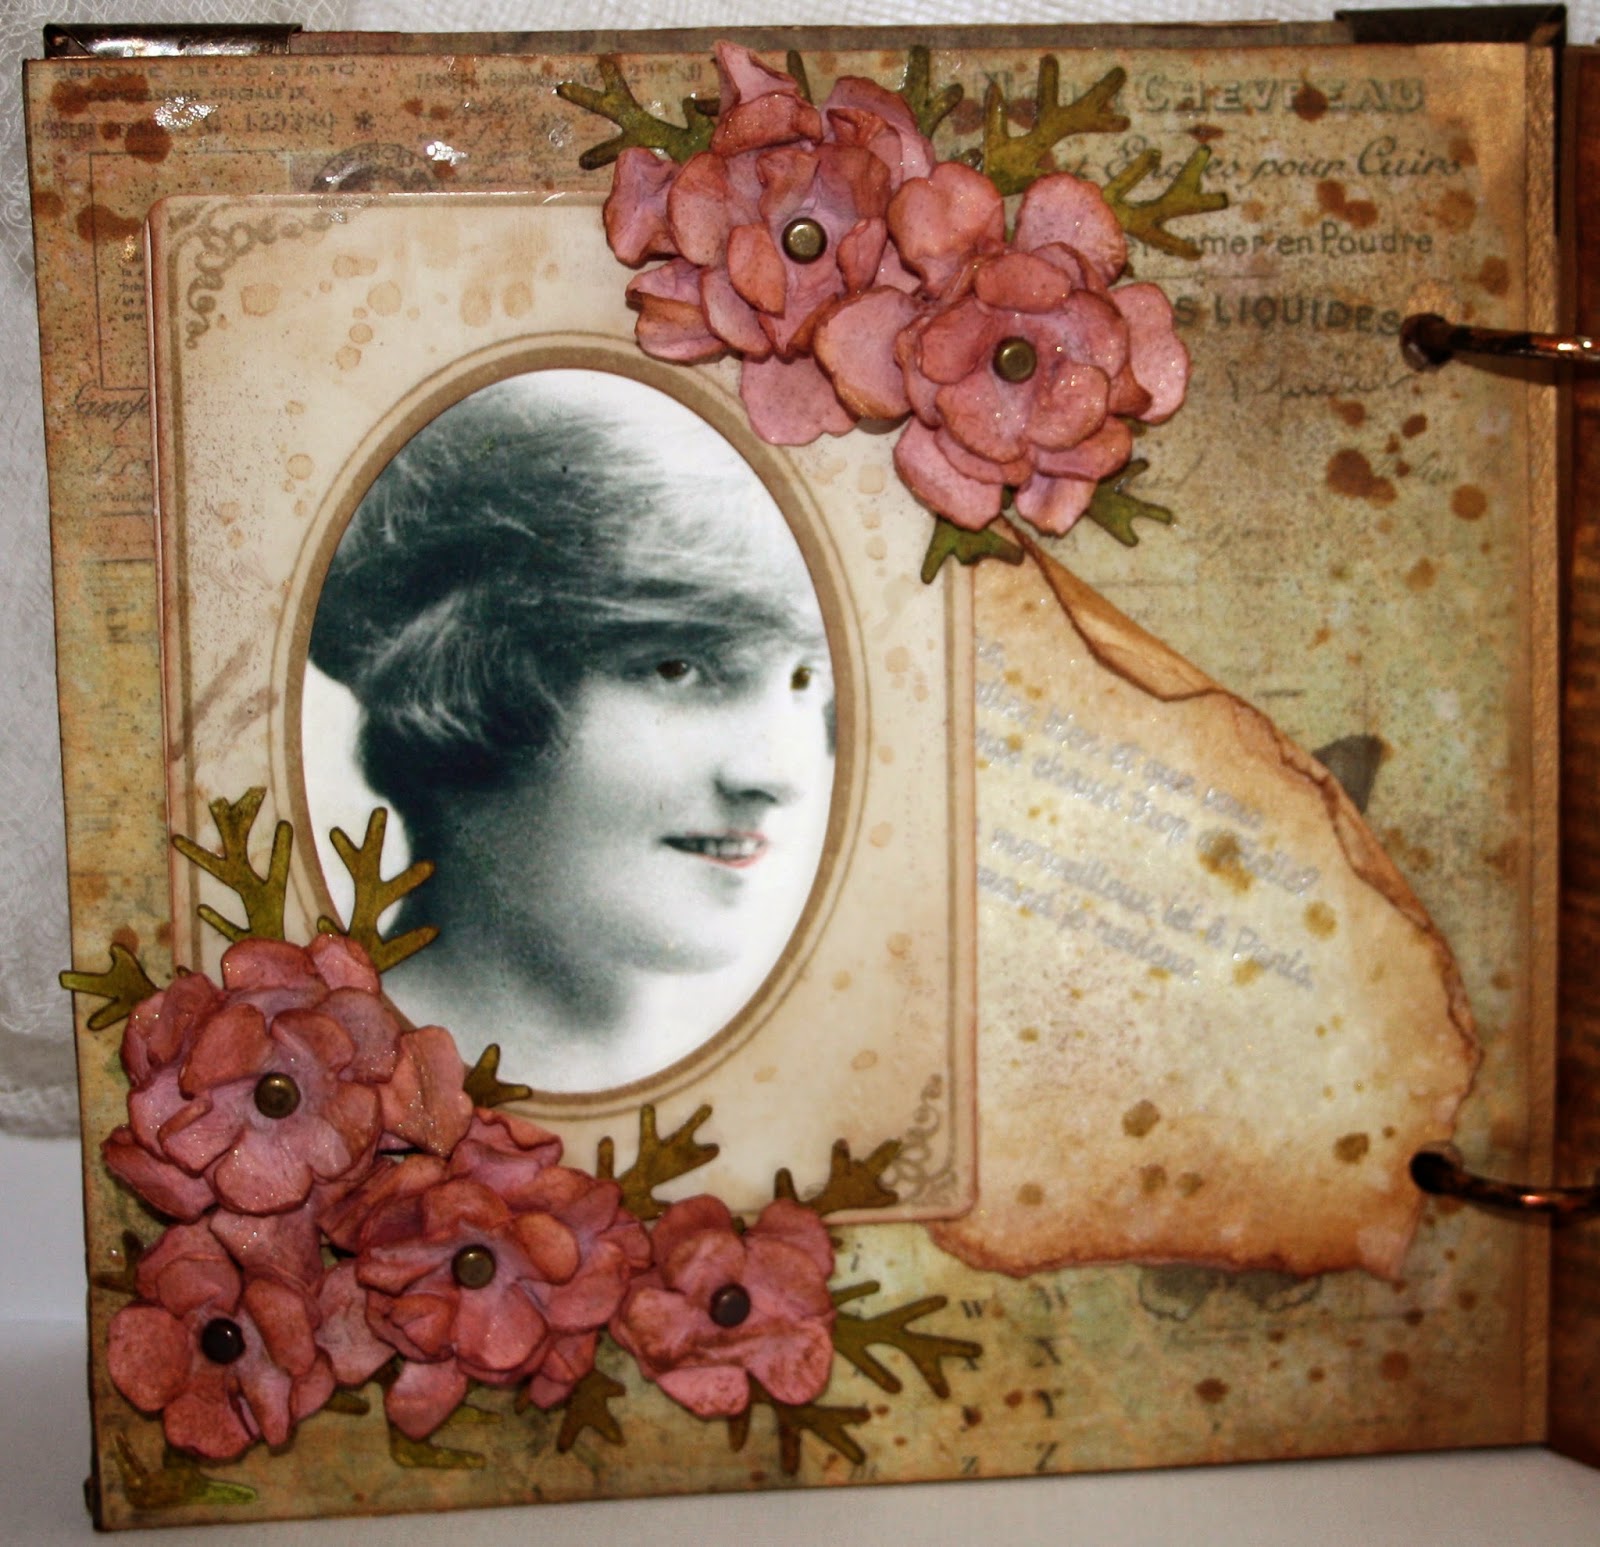
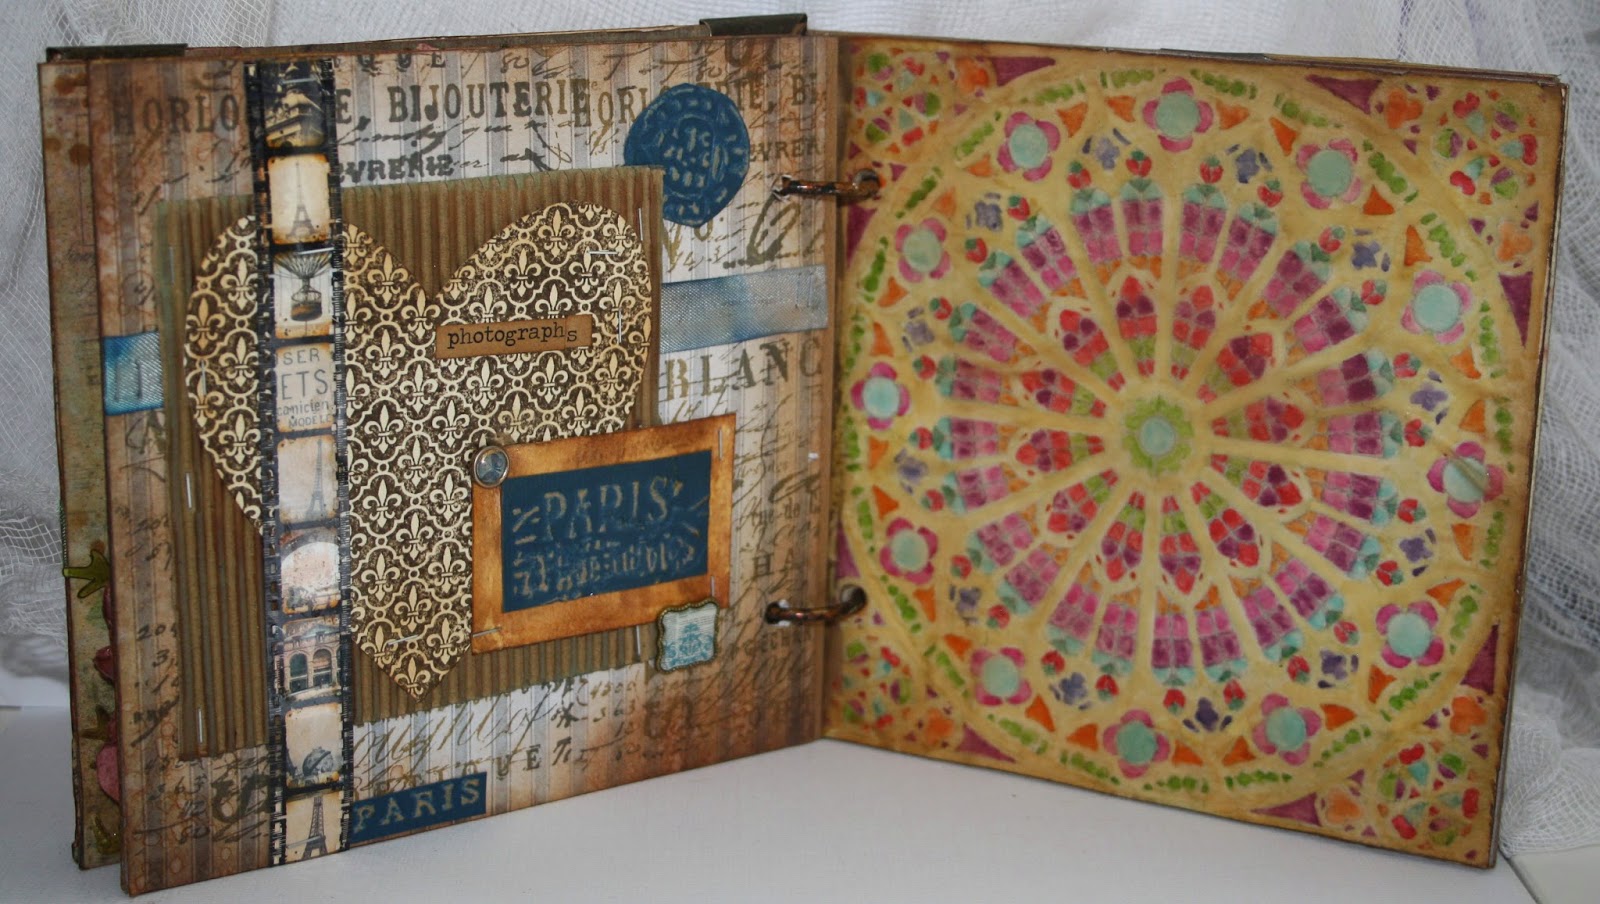
Each of the insides of the albums is different, but there are some things in common - I used the same stencils for each, the same coloured archival inks and for each child there was one page that had their date of birth. I also added a little paper envelope and a Tim Holtz Journalling Ticket for extra places to add information etc. I haven't added all of the photos yet; just the first photo in each album. I used lots and lots of rub ons in the albums, mostly Tim Holtz ones, but also some from Bo Bunny and various Tim Holtz embellishments. There are also some bits and pieces from Graphic 45's Botanical Tea range.
I didn't think anyone would want to wade through all 80 pages of the albums and so I have just put photos of some of them on here, but all of them are on my Google + if any one wants to take a peek!!


I wanted to do something that I hadn't tried before, and so I knew that I wouldn't be making "just" an ATB. It took me ages to work out what I was going to do because I wanted to make something that I would actually use. I got into paper-crafting because I wanted to document my family history and so bringing those two things together, I came up with the idea of making mini scrapbook albums and using the ATB to store them in! What I hadn't thought about was how many pages that would involve making, staining, stencilling, stamping and embellishing! All in all, including the front covers there were 80 pages!
I decided to make albums of each of my grandchildren, as they are also my favourite things! The ATB holds 5 albums and, although I have 7 grandchildren, two of them I only see a couple of times a year as they live so far away and I don't really have enough photos for an album each, so I decided to make albums for the 5 grandchildren I have lots of photos of and I will make another project for the other two.
The ATB was made from thin cardboard and the inside was covered with paper from Prima's Seashore range. I covered the edges in washi tape and then added Gold Rub n Buff. For the sides, I cut 6 pieces of manilla card, which I covered with pages from an old edition of "A Tale of 2 Cities" (just mentioned that as it is one of my favourite books ever). I covered these with a thin layer of gesso. Once the gesso was dry I used very thin coats of Antique Linen and Broken China Distress paint to cover the sides. After this, I used various colours of archival inks to stamp the background. I decided that as my albums were documenting the details of my grandchildren's lives then it would be appropriate to use die cuts and stamps which were connected to writing etc. - I really love the way the pile of books and quill pen came out, it is the first time I have used it, but it certainly won't be the last.
Each album was made in the same way. I used my Silhouette Cameo to cut out 5 front covers and 40 double pages for the inside of the albums. I also cut out each of my grandchildren's names.
For the front covers I used Distress Inks in Scattered Straw and Tumbled Glass and then I stamped images connected to each individual child. For example, Caleb has been on a couple of Mediterranean cruises and loves talking about his "big boat", so I decided that would be the focus of his album. I coloured in the names with Gathered Twigs Distress stain and added them to the front of each album.
Each of the insides of the albums is different, but there are some things in common - I used the same stencils for each, the same coloured archival inks and for each child there was one page that had their date of birth. I also added a little paper envelope and a Tim Holtz Journalling Ticket for extra places to add information etc. I haven't added all of the photos yet; just the first photo in each album. I used lots and lots of rub ons in the albums, mostly Tim Holtz ones, but also some from Bo Bunny and various Tim Holtz embellishments. There are also some bits and pieces from Graphic 45's Botanical Tea range.
I didn't think anyone would want to wade through all 80 pages of the albums and so I have just put photos of some of them on here, but all of them are on my Google + if any one wants to take a peek!!
I hope you have enjoyed looking at the pictures. I had a great time making this project and I know I am going to love sitting with my grandchildren choosing which pictures and information to include in them.
I am entering this into several challenges:
Frilly and Funkie Challenge Blog - Hip to be Square.
Stamping Sensations - Anything goes
Art with Heart Challenge - Anything goes
Vintage Utfordring (Vintage Challenge) - Make a box
The Artistic Stamper - Anything goes
Sarah Hurley 365 - Favourite things
Inspirational Journal blog